- OpenMRS Android Client
- Description - Key Features
- Screenshots
- Demo Server - Demo Username: admin - Demo Password: Admin123
- Releasing [Collaborators only]
- License
- Resources
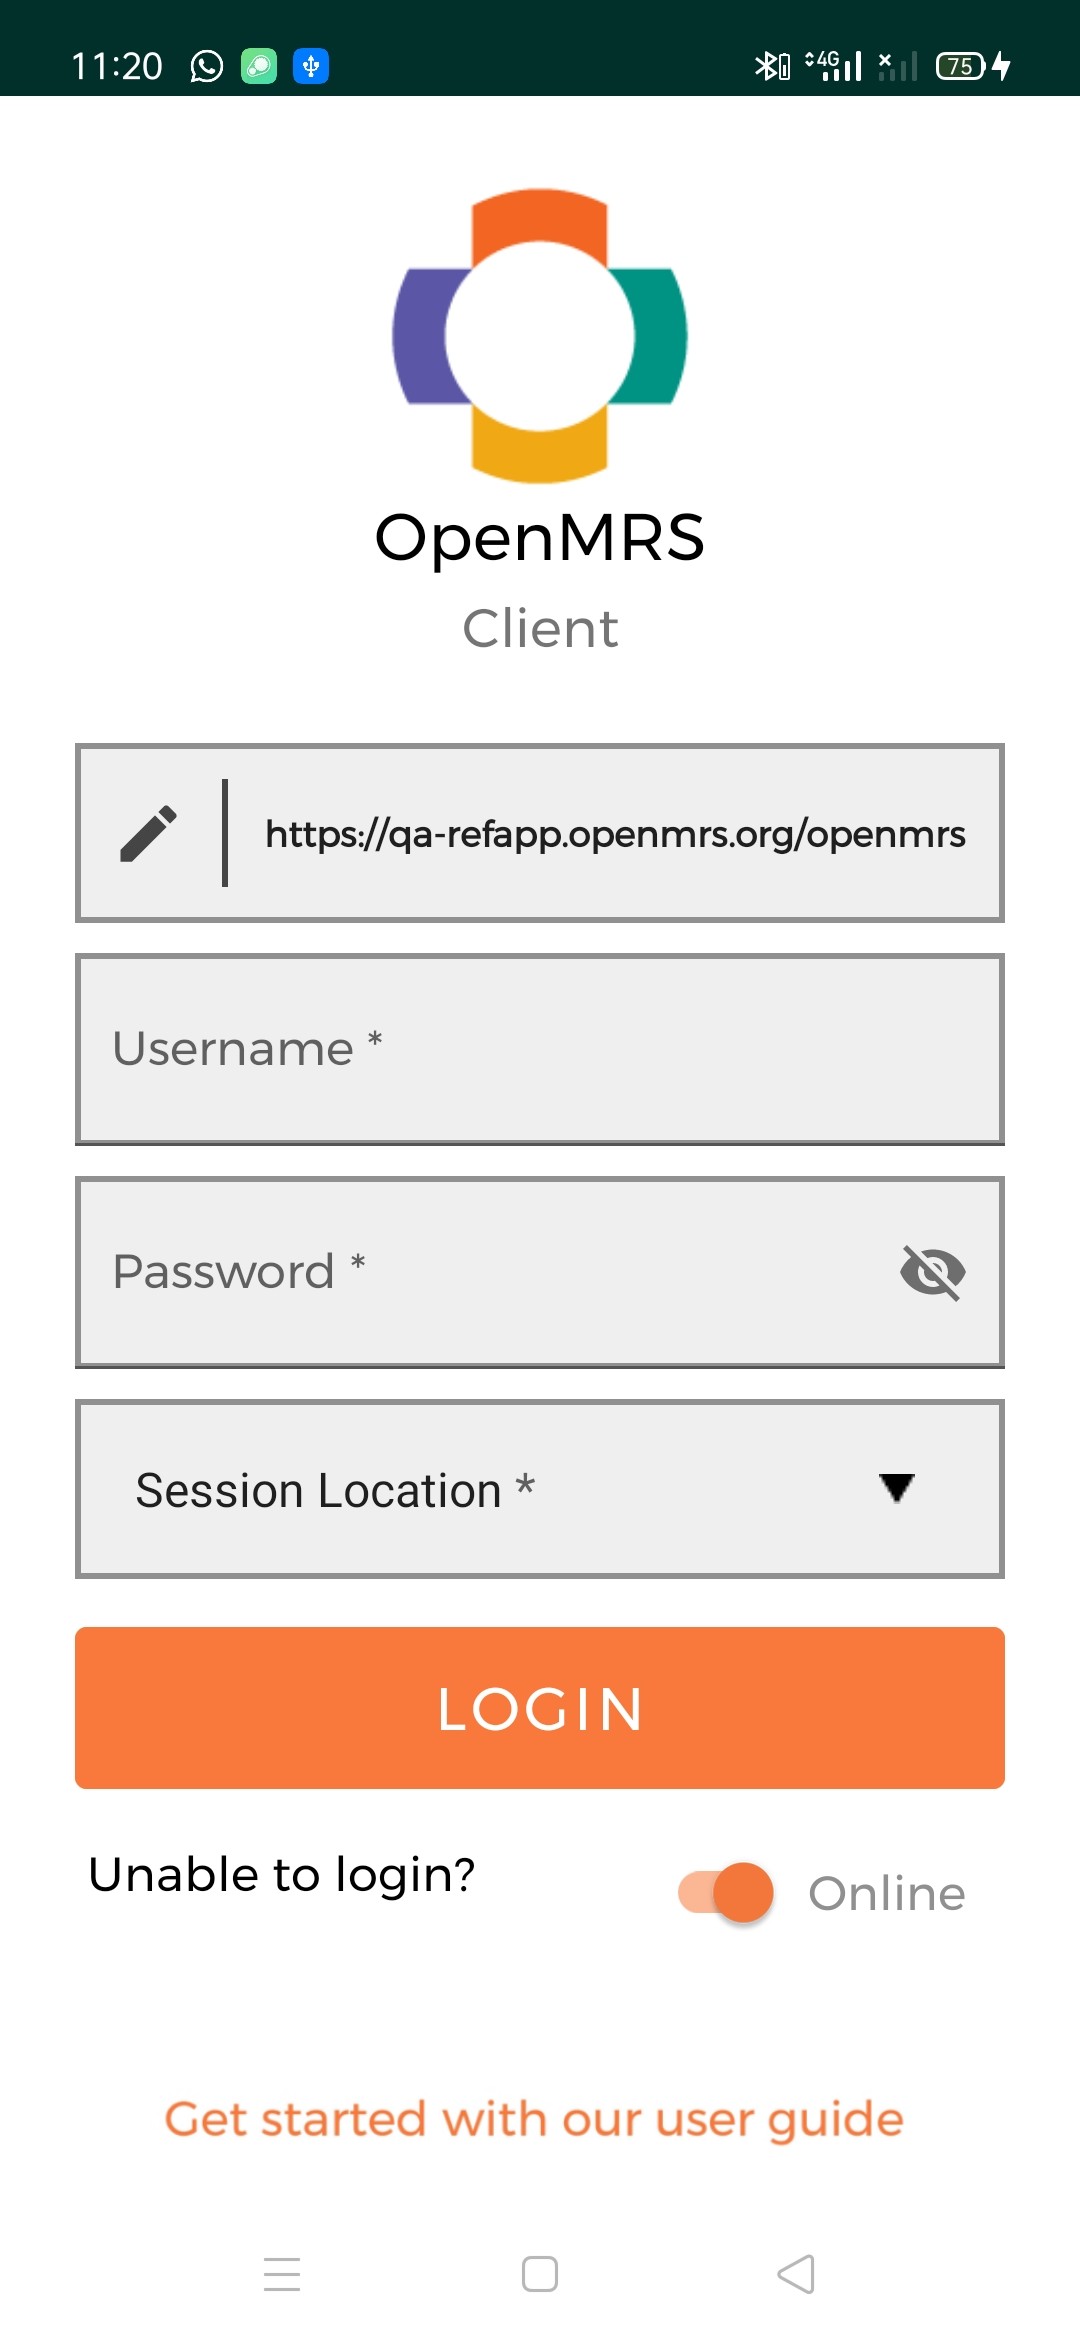
- The purpose of this project is to provide an OpenMRS client for Android devices. The app is designed to cover most of the functionality currently on the web application. The app communicates with OpenMRS instances using REST. It supports working offline (without a network connection). The database on the device is encrypted and password-protected to secure patient data.
- In addition to the OpenMRS-Android-Client, this repository also has openmrs-android-sdk package which serves as an sdk which helps to build custom UI on top of the core functionality it provides.
-
We use JIRA to track issues and monitor project development. Refer to this link to view all issues and project summary: Android Client JIRA. To get started contributing, try working on introductory issues in JIRA and check out OpenMRS Pull Request Tips. Also, before creating a pull request, please run code review tools (Lint) and all tests.
-
There is a detailed guide for setting up the OpenMRS-Android-Client locally, before starting to contribute to the project here.
- There was a need to make the app extendable without forking it out, instead just adding it as a dependency in any android application which wants to use the functionality but with a custom UI on top of it.
- We can add the implementation
    dependencies
    {
        implementation 'com.github.openmrs:openmrs-contrib-android-client:deploy-android-sdk-SNAPSHOT'
    }
as a dependency in the app module build.gradle to get the functionality provided by openmrs-android-sdk.
- The openmrs-android-sdk exposes the functionality through, methods present in various repository classes which just need to be plugged in with the UI and view-Model.
- An simple example of the usage would be this demo application, a more complex application depicting the usage would be the openmrs-client package itself. There is a confluence article here which will take you through the creation and usage of the test Application mentioned above.
- The JavaDocs for the openmrs-android-sdk can be generated by running the Gradle command ./gradle dokkaHtml which will generate an HTML interface with documentation inside the openmrs-android-sdk/build directory.
- This package was earlier used as the sole package containing all the code for the OpenMRS-Android-Client now a part of it has been encapsulated in the form of openmrs-android-sdk and published on Jitpack from where it can simply be added as a dependency to any other app.
- This package uses the methods exposed by the openmrs-android-sdk and builds UI on top of it, which can be used as an example to implement UI on top of openmrs-android-sdk.
- The app is also published on PlayStore just to get used to the functionalities it provides and can be tested on local OpenMRS server or Demo OpenMRS Server.
- Connect to OpenMRS server and sync all data
- Register and Edit patients
- Record Visits and Encounters
- View patient data (Details, Diagnoses, Visits, and Vitals)
- Allergies Module
- Provider Module
- Offline access (specific modules like provider, patient and some functionalities of allergy module)
The demo test server dedicated to the client is (https://demo.openmrs.org/openmrs/). In case the demo server fails to respond, you can use other alternate servers provided here.
We follow the sprint model for development. Read more about it here: OpenMRS Sprints. To release the application, make sure to do these steps in order:
- Update the version variable in versions.gradle prior to the release.
- Update the Release notes file.
- Update the release notes text file to publish in the Play store. Ideally, change the wording so that normal end users understand.
- Now commit with the title
Release <version number here>to the master branch. - Tag the commit, using the version as the tag name. Make sure CI is green!
- Go to the releases page and click the Draft a new release button. It will create a new version tag in the repository and build the app. The tag name will be used as the version number for this. Be sure to bump unfinished issues to the next due version.
- Go to JIRA's releases page, click on the three-dots on the right, and hit Release.
- Post a new Talk thread and describe what is changed or improved in the release.
- The Openmrs-Android-sdk gets published to the Jitpack library so that it can be added as a dependency in various projects.
- Due to some issues with the release build configuration of the app is explained in detail here we are not able to do jitpack releases from the master branch.
- There is a dedicated branch for this purpose that has got only the debug variant of the android application. So that the jitpack build passes.
- For now until the issue gets resolved or we write a script for it, To release the latest code improvements in the openmrs-android-sdk package to the jitpack, we need to copy the whole package from master to branch deploy-android-sdk.
- After getting the latest code changes to branch deploy-android-sdk, we publish a snapshot of the branch to jitpack. So that the tag of jitpack published looks exactly like
deploy-android-sdk-SNAPSHOT.
This project is licensed under the OpenMRS Public License, see the copyright file for details.


